



























































































































































An intermittent no-power, battery, dock, display, blue-screen, performance, thermal, or boot complaint can cross several layers. Replacing the most visible component first often destroys evidence, repeats the failure, or sends a healthy system to depot while the adapter, cable, dock, driver, firmware, or environment remains at fault.
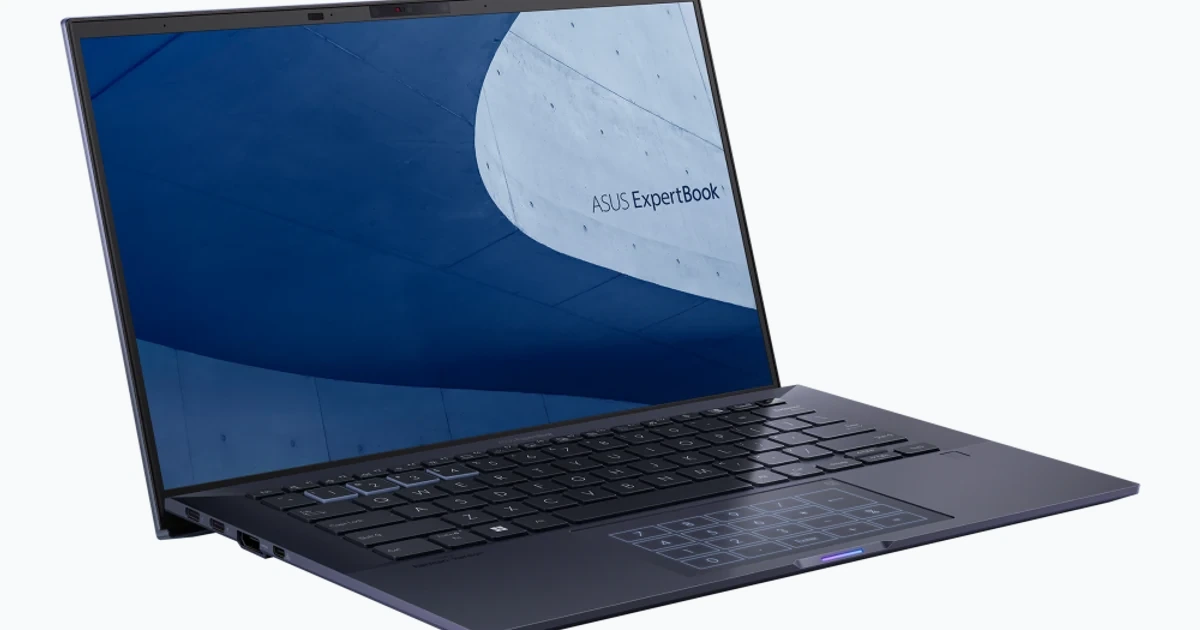
ASUS provides diagnostics in MyASUS, WinRE, and UEFI on supported systems, but availability and test coverage vary by model. A professional workflow records what was tested, under which state, with which accessories, and what the result can and cannot prove.
The objective is a defensible disposition: repair locally within authorized scope, restore software, open an ASUS case, replace the endpoint, or return it to service. Each choice must protect business data and preserve the device’s security and management identity.
Businesses in Lawrenceville, Suwanee, Gwinnett County, Metro Atlanta, and across Georgia can use ALLMSP to troubleshoot and recover ASUS business PCs. Our in-house team handles planning, technical work, testing, and documentation.
Key decisions at a glance
- Capture the exact model, configuration, symptom, timeline, recent changes, impact, and custody before attempting a fix.
- Isolate external power, adapter, battery, dock, display, cable, network, peripheral, firmware, driver, operating-system, and hardware variables methodically.
- Use MyASUS, MyASUS in WinRE, or UEFI diagnostics only when the exact model supports the feature, and retain the result safely.
- Treat Cloud Recovery, factory reset, storage replacement, and board service as data and identity events requiring authorization and recovery planning.
- Close repair only after burn-in, security revalidation, management reconciliation, user-workflow testing, and documented handoff.
Scope the Incident and Freeze the Evidence
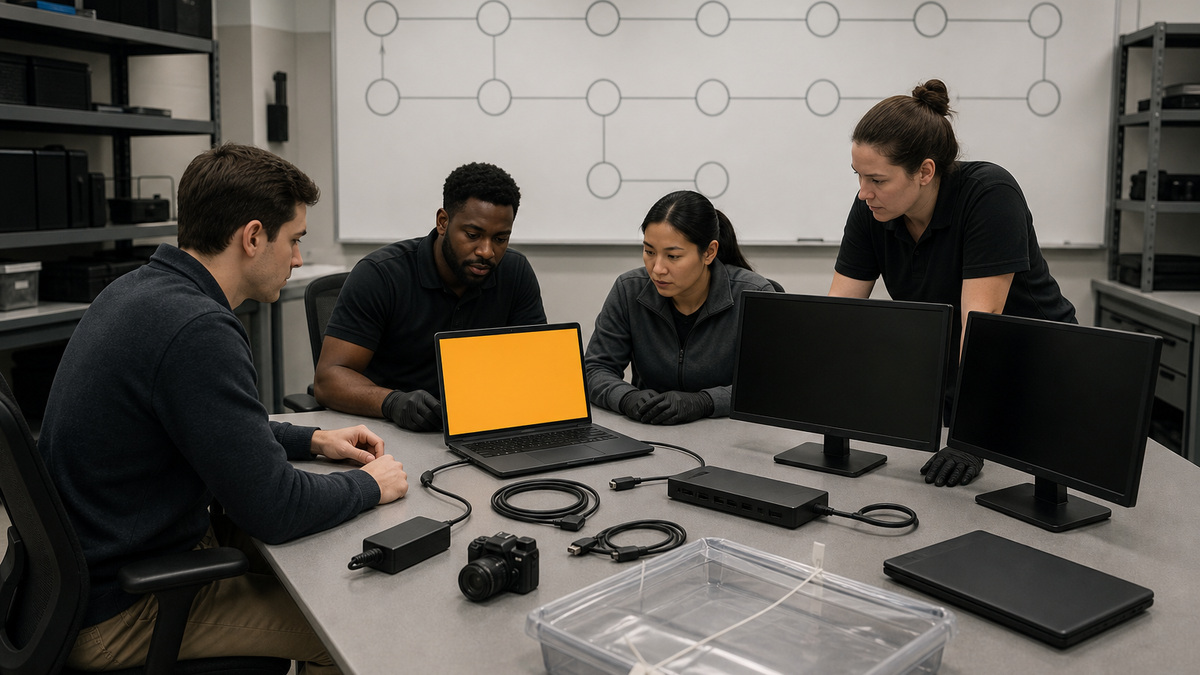
Begin with the user’s exact words and a timestamped timeline. Record the full ASUS model, configured SKU, restricted serial reference, user and location, operating-system build, BIOS version, relevant driver versions, power adapter and dock model, displays and cables, recent updates or physical events, frequency, duration, business impact, and whether the symptom follows a user, room, accessory, network, workload, or power source. Photograph physical damage, port condition, indicator lights, and cable layout without exposing customer information. Capture error codes, blue-screen stop codes, Event Viewer entries, battery or storage health, thermal observations, management alerts, and diagnostic results before changing state. Preserve volatile evidence when security or data loss is suspected and follow incident-response policy before normal troubleshooting. Ask whether the device was dropped, exposed to liquid, transported hot, connected to a different charger, serviced, reimaged, or prompted for BitLocker recovery. Establish data criticality, backup status, encryption and recovery-key custody, warranty, spare availability, and authorization boundaries. A concise incident statement should identify observed behavior and conditions without prematurely declaring the motherboard, battery, or Windows to be the cause.
- Capture exact hardware, accessories, software, location, timing, changes, and impact.
- Preserve photos, error codes, logs, health data, and management evidence first.
- Ask about physical events, power sources, service, reimage, and recovery prompts.
- Confirm data, encryption, backup, warranty, spare, and authorization status.
- Describe the symptom and conditions before assigning a root cause.
Isolate Power, Battery, Dock, Display, and External Dependencies
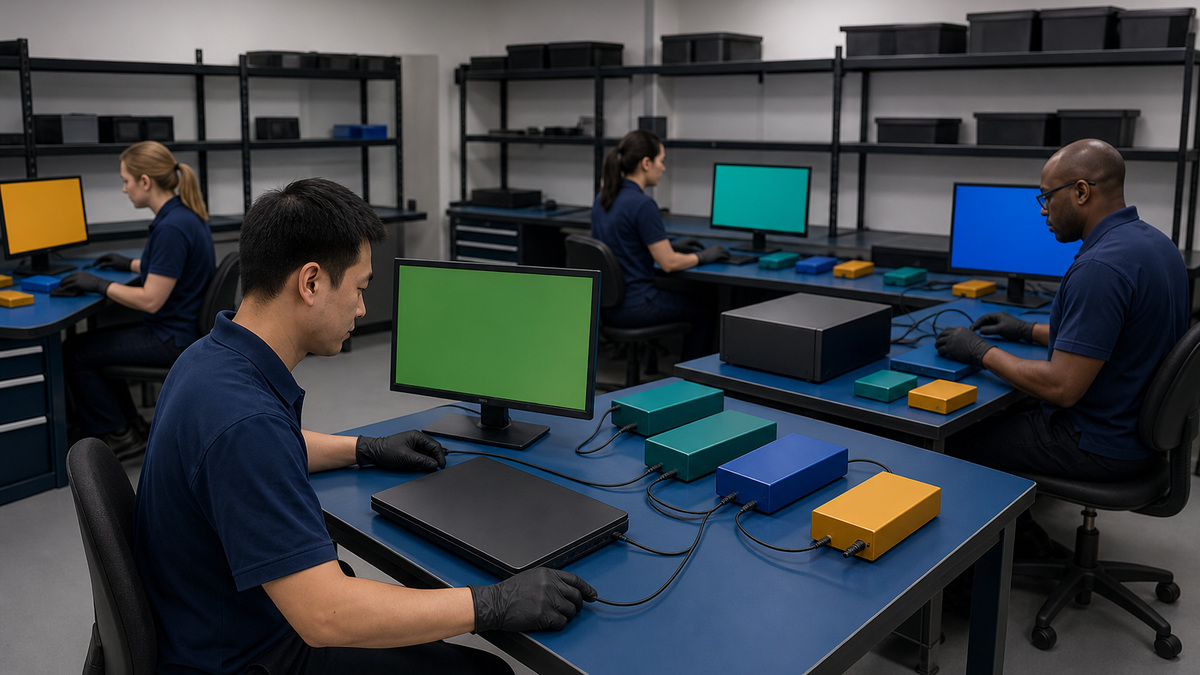
Reproduce the problem with the user’s normal setup before simplifying it. Verify the ASUS-supplied or explicitly approved adapter, connector condition, power rating, outlet, surge or UPS path, battery state, charge trend, dock power delivery, display cables, monitor inputs, and attached USB devices. Compare with known-good accessories that match the model’s requirements, a connector that fits is not evidence of adequate power or protocol support. Test direct AC power, battery operation, direct display output, docked and undocked states, one monitor at a time, wired and wireless networking, and a clean peripheral set. Observe whether charging falls under load, whether disconnects correlate with sleep or hot-plug, and whether the failure follows the device, adapter, dock, cable, display, desk, or user. Inspect vents and airflow without opening hardware beyond authorized service scope. Record each variable change and outcome so the test matrix does not become a sequence of forgotten swaps. If there is swelling, liquid, burning odor, unusual heat, damaged power hardware, or exposed conductors, stop use, isolate safely, and escalate rather than continuing a burn-in test.
- Reproduce the original configuration before removing variables.
- Verify adapter rating, connector, outlet, battery, dock power, cables, and peripherals.
- Use known-good components that are actually compatible with the exact model.
- Track whether the symptom follows hardware, accessory, location, workload, or user.
- Stop and isolate unsafe battery, liquid, heat, odor, or electrical conditions.
Run ASUS-Supported Diagnostics and Interpret Their Limits
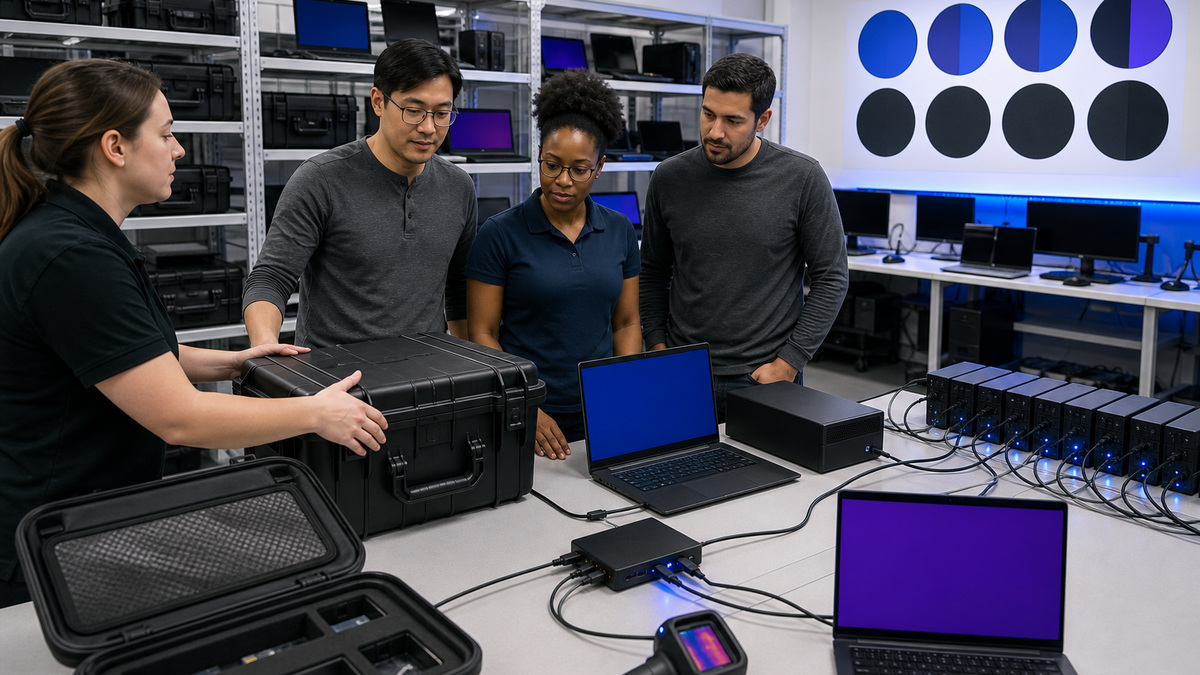
When Windows is usable and the exact model exposes the feature, run the relevant MyASUS System Diagnosis check. ASUS lists tests for adapter, memory, Wi-Fi, Bluetooth, HDD, SSD, battery, fan, system, keyboard, touchpad, display, and USB, while noting that available checks vary by model. Select tests that match the symptom and run a broader hardware check when evidence crosses components. Save the result, error item, suggested action, diagnostic code, tool version, power state, and connected accessories. If Windows will not boot, determine whether the model supports MyASUS in WinRE or System Diagnostics in UEFI BIOS, absence of the menu can simply mean the function is unsupported. ASUS says UEFI diagnostics are available on supported newer notebook platforms and can operate without a functioning OS. A pass narrows the case but does not disprove intermittent, environmental, cable, dock, software, or load-dependent failures. A warning also is not automatically proof of physical damage. Reproduce outside the operating system where possible, compare a known-good device or accessory, and correlate diagnostic output with the incident timeline before selecting repair.
- Use only diagnostic features exposed and supported by the exact ASUS model.
- Choose component tests from the symptom and add broader checks when evidence spans layers.
- Retain result, code, tool version, power state, and accessory context securely.
- Use WinRE or UEFI diagnostics when supported and Windows cannot boot.
- Interpret pass, warning, and failure results alongside reproducibility and other evidence.
Separate Firmware, Driver, Operating-System, and Physical Causes
Compare the failing system with its approved model-specific baseline. Check whether the symptom began after a BIOS, Windows, driver, utility, security-agent, dock-firmware, application, or policy change and whether peers with the same hardware received it. Review Device Manager, reliability history, event logs, crash evidence, storage and memory health, firmware version, and ASUS package applicability. Use controlled rollback only where supported and authorized, ASUS warns that BIOS downgrades may not be permitted, so do not invent a firmware rollback path. Test a minimal known-good software state without erasing evidence or business data. If boot problems follow a firmware or security change, confirm BitLocker recovery custody and current Secure Boot state before further BIOS work. Replace or reseat components only within the exact model’s service policy, warranty, ESD controls, and technician authorization. One change per test cycle preserves causality. If the same failure persists across an approved software baseline, known-good external dependencies, and supported diagnostics, the evidence for hardware service becomes substantially stronger.
- Compare against the exact model’s approved BIOS, drivers, utilities, and policies.
- Correlate onset with updates, accessories, peer devices, logs, and hardware health.
- Avoid unsupported BIOS downgrade or destructive recovery experiments.
- Require encryption and Secure Boot readiness before boot-chain changes.
- Change one controlled variable per test and preserve ESD and warranty boundaries.
Choose Data-Safe Recovery, Local Repair, RMA, or Replacement
Make disposition explicit. Continue local troubleshooting only while evidence is improving and the work remains authorized. Before Cloud Recovery, factory restore, reimage, storage replacement, or motherboard service, confirm business-owner approval, recent recoverable backup, encryption key access, data-retention or legal-hold needs, application licenses, certificates, browser and authentication state, management-enrollment plan, and spare coverage. ASUS states that Cloud Recovery restores the system to factory condition and advises backing up accessible data first, treat it as destructive even when the interface offers a backup step. Keep an encrypted custody record for any storage media that leaves the user. For an ASUS case, assemble exact model and serial, proof of purchase, warranty, symptoms, reproduction steps, diagnostic codes, photos, configuration, accessories tested, data instructions, and a non-secret contact path. Follow the issued RMA checklist and shipping directions, and record package seal, carrier, tracking, timestamps, received status, quoted work, parts or board changes, and returned accessories. Never ship unnecessary credentials, keys, tokens, or user paperwork with the device.
- Authorize destructive recovery only after backup, key, retention, license, and enrollment checks.
- Treat ASUS Cloud Recovery as a factory-state restoration, not a harmless diagnostic.
- Control storage custody and document any media that leaves the organization.
- Send ASUS a complete evidence package without secrets or unnecessary accessories.
- Track RMA custody, carrier, service findings, changed parts, and return contents.
Burn In the Repaired ASUS Endpoint and Rebuild Trust
Treat a repaired or recovered endpoint as untrusted until its identity and controls are reconciled. Compare chassis serial, motherboard or firmware identity, storage, memory, wireless hardware, BIOS version, Secure Boot, encryption protectors, recovery escrow, management registration, certificates, security agent, local administrator state, and warranty record with the pre-service baseline. Remove stale device objects or duplicate registrations according to the organization’s identity procedure. Install only approved exact-model packages and operating-system updates. Run repeated cold boots, restarts, sleep and wake cycles, AC and battery transitions, charging under load, thermal and fan observation, memory and storage tests, network transfers, dock and display changes, audio, camera, USB, and the business workload that originally failed. Use a defined duration and workload rather than an arbitrary idle period. Inspect event logs and management telemetry after the test, not only the screen. If a system board changed, assume TPM and device identity consequences until encryption, certificates, management, and authentication have been deliberately re-established.
- Reconcile chassis, board, storage, firmware, management, encryption, and warranty identity.
- Remove stale registrations and rebuild certificates or protectors through approved workflows.
- Install only the exact model’s approved packages.
- Burn in power, thermal, storage, memory, network, dock, display, USB, and user workloads.
- Review logs and telemetry after testing and treat a changed motherboard as a trust event.
Close with Root Cause, Evidence, and a Useful Handoff
Close the incident only when the original symptom is reproduced or responsibly classified, the chosen action is documented, and the repaired or replacement device passes acceptance. State the confirmed root cause, contributing conditions, disproved hypotheses, parts or software changed, vendor findings, data handling, security reconstruction, tests, observation period, residual risk, warranty effect, and owner. If the issue could not be reproduced, document test scope and conditions rather than labeling it fixed. Give the user a concise return brief covering accessories, expected prompts, battery or docking changes, data restoration, and how to report recurrence. Update the known-error record when a model, BIOS, driver, dock, display, adapter, or workload pattern affects more than one device. Feed repeated incidents into fleet baselines, purchasing, spare design, and lifecycle planning. Preserve sensitive diagnostics and serial data in restricted systems while keeping the routine ticket readable. A good closure lets the next technician understand exactly why the endpoint was returned to service.
- Document root cause, contributors, disproved theories, changes, findings, and data handling.
- Record test scope and uncertainty when the symptom cannot be reproduced.
- Give the user a practical return-to-service and recurrence brief.
- Promote recurring model or accessory patterns into managed known errors.
- Keep restricted evidence separate while leaving a clear operational narrative.
Official product documentation and ALLMSP resources
- ASUS: MyASUS System Diagnosis
- ASUS: System Diagnostics in UEFI BIOS
- ASUS: System Diagnostics within MyASUS in WinRE
- ASUS: Cloud Recovery in UEFI BIOS
- ASUS: Online RMA Instructions
- ALLMSP Asus Hardware Support
- ALLMSP Hardware Support
- ALLMSP IT Consulting
- ALLMSP Managed IT Services
- ALLMSP Cybersecurity Services
- Contact ALLMSP
Frequently Asked Questions
What information should be captured before troubleshooting an ASUS business PC?
Record the exact model and configuration, restricted serial reference, user, location, symptom, timing, recent changes, BIOS and software state, adapter, dock, displays, peripherals, errors, impact, data and backup status, warranty, and custody.
Which components can MyASUS System Diagnosis test?
Depending on model support, MyASUS can check the adapter, memory, Wi-Fi, Bluetooth, HDD, SSD, battery, fan, system, keyboard, touchpad, display, and USB, plus scenario-based checks.
What if MyASUS diagnostics are not available?
Feature availability varies. On supported systems, MyASUS in WinRE or UEFI diagnostics may work when Windows does not boot. If the feature is absent, continue with documented external and operating-system checks or ASUS support.
Does a passed ASUS diagnostic prove the hardware is healthy?
No. A pass narrows the investigation but may not reproduce intermittent, thermal, environmental, dock, cable, software, workload, or power-related failures. Correlate the result with controlled reproduction and other evidence.
How should an MSP isolate an ASUS docking problem?
Reproduce the original setup, verify adapter and dock power, then compare direct versus docked displays, one cable and monitor at a time, wired and wireless transitions, sleep and wake, known-good compatible accessories, and peer configurations.
When is ASUS Cloud Recovery appropriate?
Use it only after confirming model support, business authorization, recoverable backup, encryption keys, retention needs, licenses, credentials, management re-enrollment, and spare coverage because it restores the computer to factory condition.
What evidence should accompany an ASUS RMA?
Include exact model and serial, proof of purchase, warranty, symptom and reproduction steps, diagnostics, error codes, photos, configuration, accessories tested, data instructions, contact details, and the issued RMA paperwork without secrets.
What changes after an ASUS motherboard replacement?
Firmware identity, TPM trust, encryption protectors, recovery, certificates, management identity, authentication, licensing, and warranty records may change. Reconcile and rebuild them before returning the device.
How long should an ASUS repair burn-in run?
Use a defined period and workload based on the failure: repeated boots, sleep cycles, power transitions, charging, thermals, memory, storage, network, dock, display, peripherals, and the original business workflow.
How can ALLMSP help with ASUS hardware incidents?
ALLMSP can preserve evidence, isolate power and peripheral variables, run supported diagnostics, protect recovery data, coordinate repair custody, rebuild endpoint trust, burn in the system, and document return to service.