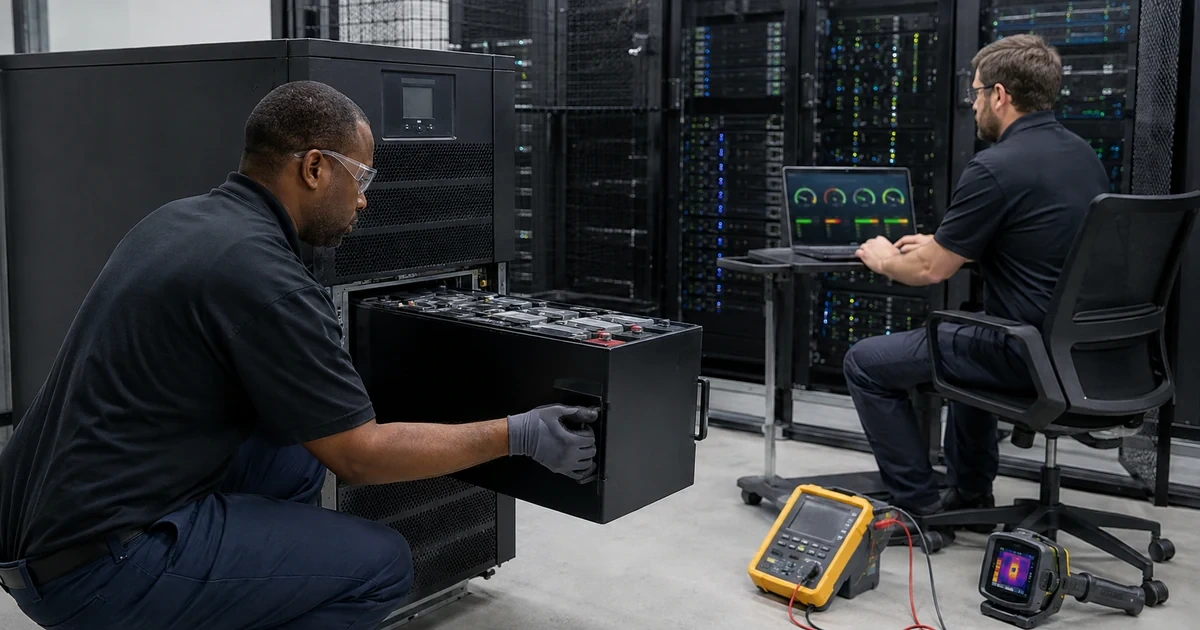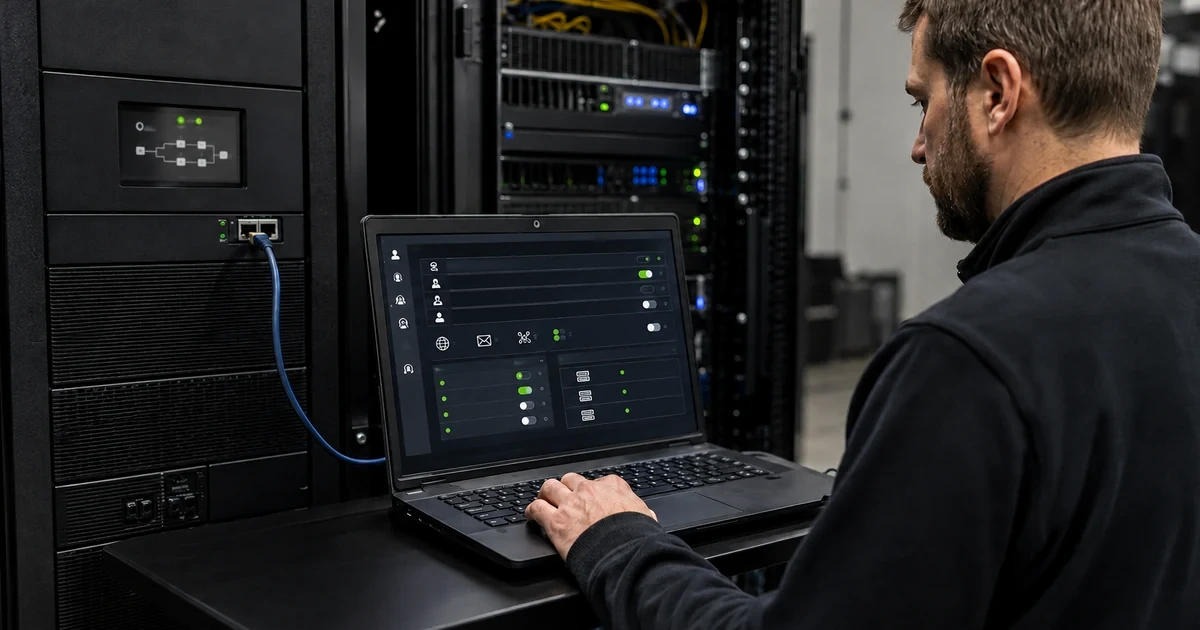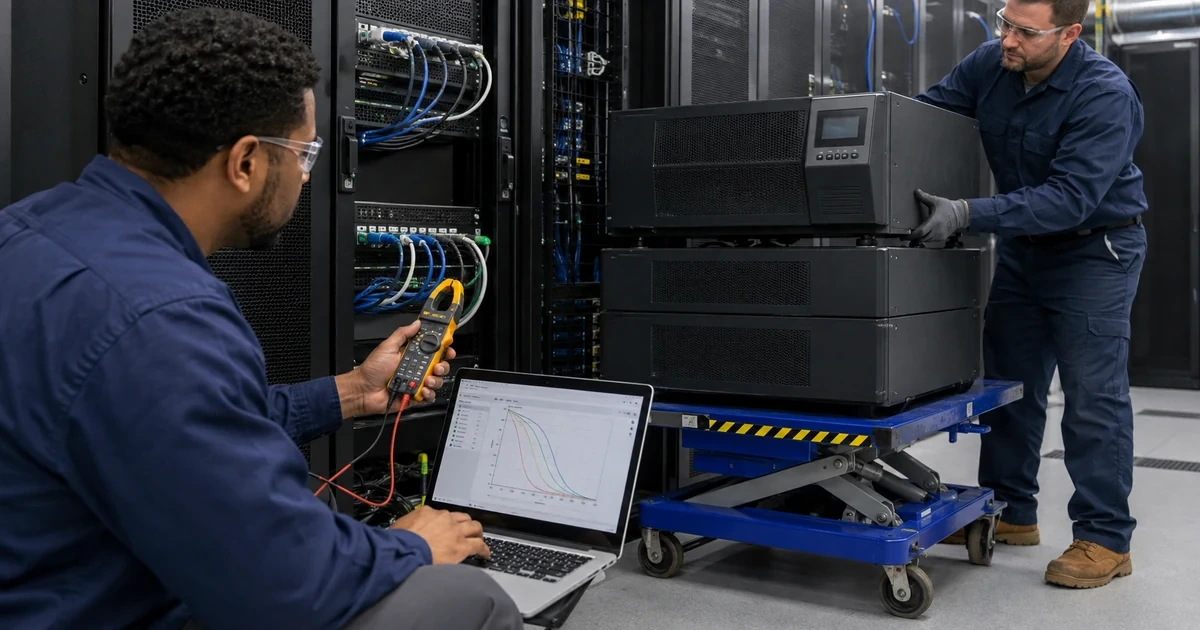

























































































































































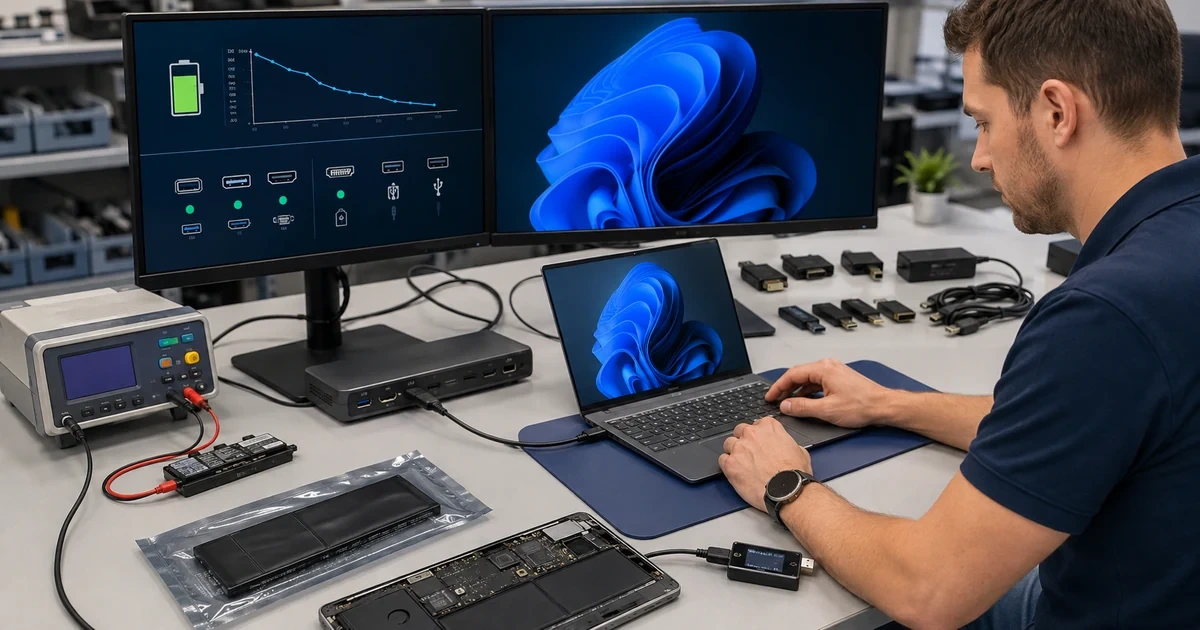
A USB-C desk can look standardized while hiding several incompatible systems. The Acer notebook may expose more than one USB-C port with different capabilities. A dock may require a specific host cable and its own power adapter. One monitor may use native DisplayPort Alt Mode while another depends on the dock’s internal display path. Ethernet, storage, cameras, headsets, and charging all compete for a shared connection. A support ticket that says the dock does not work is therefore a symptom description, not a diagnosis.
Acer’s current dock guidance supplies useful boundaries. Its USB Type-C Gen 1 dock article recommends a certified Acer notebook with a full-function USB-C connection and Power Delivery for complete compatibility. Acer’s connection article says the dock must use a notebook port that supports video output, the dock should have current firmware, and the supplied AC adapter and USB-C cable must be connected. Acer also documents model-specific multi-monitor capabilities rather than promising that every dock and host combination drives every resolution.
Battery operations add another model boundary. Acer documents an optional charge-limit feature that may appear in Acer Care Center, AcerSense, ControlCenter, or model-specific software, the absence of the control can mean the model does not support it. Acer’s calibration article says calibration and charge-limit availability vary and notes that calibration is not supported through a USB Type-C power adapter in that workflow. An internal battery or embedded-controller reset clears power-management state but does not erase files and is not a substitute for replacing a worn battery. This guide turns those facts into a repeatable desk and battery service standard.
For organizations in Lawrenceville, Suwanee, Gwinnett County, Metro Atlanta, and across Georgia, ALLMSP can manage Acer USB-C docks, displays, and laptop batteries through one accountable in-house process for assessment, configuration, testing, and support.
Key decisions at a glance
- Confirm that the exact Acer notebook port supports the required USB-C functions, a connector that carries data or power does not automatically carry DisplayPort video or every dock capability.
- Test the complete desk bill of materials: Acer dock model and firmware, original power adapter, host cable, monitor inputs and cables, resolution and refresh targets, Ethernet, USB devices, audio, sleep, wake, and charging.
- Acer’s dock guidance requires a powered dock and a video-capable USB-C port, while multi-display limits depend on the dock, host graphics path, cables, and selected mode.
- Use Acer’s model-aware battery tools only when the option exists, charge limit, calibration, USB-C charging, and an embedded-controller reset solve different problems and should not be treated as interchangeable.
- Operate a known-good spare matrix and isolate one layer at a time so a display, cable, dock, charger, firmware, OS, peripheral, or battery failure does not trigger random replacements.
Qualify the Exact Acer Notebook Port, Dock, Cable, and Power Path
Create an approved desk matrix for each Acer model rather than buying a generic USB-C accessory bundle. Record the complete notebook model, BIOS, USB-C port location, supported data generation, DisplayPort Alt Mode, Thunderbolt or USB4 if present, Power Delivery input, maximum supported charging behavior, native display limits, graphics adapter, operating system, and current graphics and USB controller drivers. Pair it with the exact Acer dock model, firmware, included AC adapter, adapter wattage, host-cable part and length, downstream-port map, Ethernet controller, audio path, and display outputs. Acer’s Gen 1 dock guidance says full compatibility depends on a full-function USB-C connection and recommends a certified Acer notebook that supports USB-C Power Delivery. Its connection procedure starts by installing current dock firmware, powering the dock with its provided adapter, and connecting to a notebook port that supports video. A USB-C socket alone proves none of those features. Protect serials and asset IDs in the inventory, publish only model and capability guidance. Freeze the tested bill of materials. Many failures come from a charge-only or low-capability replacement cable, a phone charger, an underpowered adapter, an unsupported host port, an extra intermediary hub, or a monitor cable that passed a lower mode. Label approved cables by an internal asset convention without printing passwords, user identity, or private network data. Inspect strain relief, connector fit, bent pins, contamination, adapter damage, and heat before software work. Measure whether the notebook reports charging, discharging, or a slow-charger state under the representative load. Test the dock flat, ventilated, and powered as Acer directs, with the original host cable first. If a notebook has several USB-C ports, validate the documented port instead of assuming symmetry. Record a known-good notebook-dock-cable-adapter combination for comparison and store it where the service desk can actually use it.
- Document exact Acer notebook and dock models, BIOS, port capability, dock firmware, original adapter, wattage, host cable, graphics path, display outputs, Ethernet, audio, and downstream devices.
- Require a full-function video-capable USB-C port for the intended display workflow and verify Power Delivery separately.
- Begin with the dock’s supplied power adapter and host cable, no intermediary hub, good ventilation, and an approved notebook port.
- Freeze an accepted bill of materials and control substitutions for cables, chargers, adapters, displays, and docks.
- Keep real serials, user associations, switch ports, IP addresses, wireless details, and asset records restricted.
Design and Test the Display, Ethernet, USB, Audio, and Wake Topology

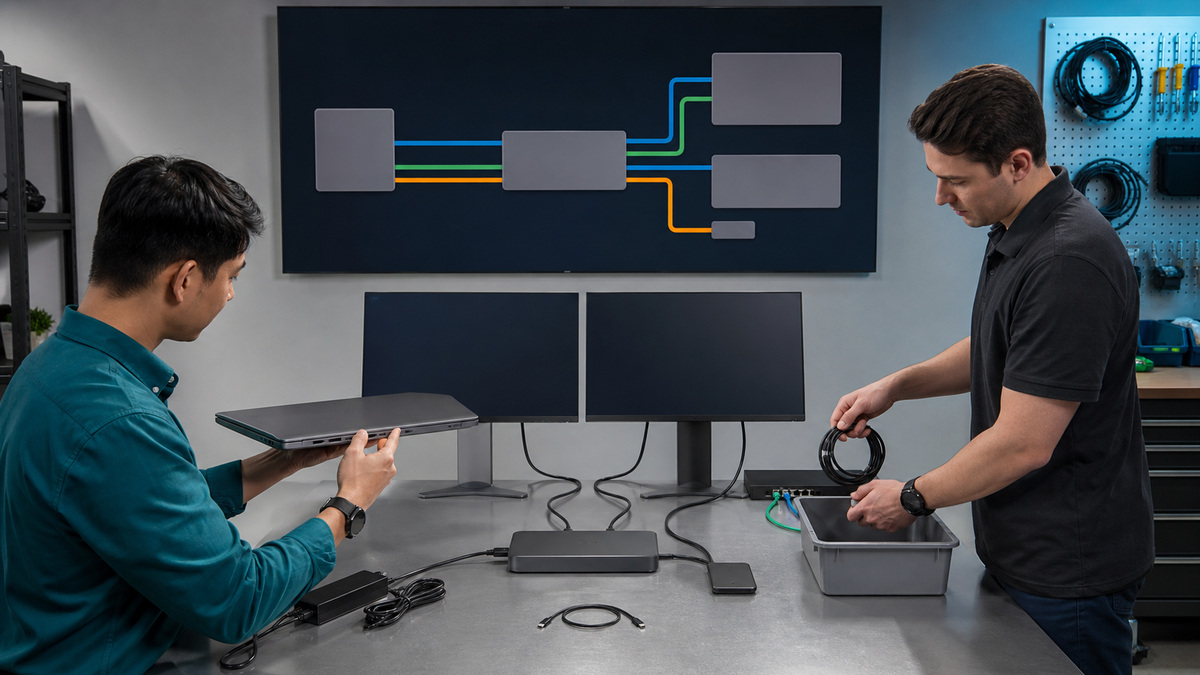
Draw the physical and logical display path. For each monitor, record input, cable, resolution, refresh rate, color requirement, orientation, scaling, primary-display role, and whether its path is native from the host or handled by the dock. Acer’s multi-monitor article for one USB Type-C dock documents two displays up to a specific resolution and refresh, the newer Gen 1 dock article describes up to three displays on compatible systems. Those statements apply to the named product and compatible host, not every Acer dock. Use the exact dock manual and notebook capability table for the deployment. Test one monitor first, then add each display while watching negotiated resolution, refresh, stability, and host charging. High refresh, high resolution, HDR, adapters, and long or marginal cables can change the result even when a lower mode works. Validate cold boot, Windows sign-in, dock before boot, dock after sign-in, disconnect, reconnect, screen lock, sleep, wake, hibernate if used, lid-open and lid-closed policy, and a full workday. Confirm Ethernet link, expected network segment, DHCP or approved static behavior, DNS, VPN, throughput, packet loss, sleep-wake recovery, and the dock’s MAC-related management behavior where relevant. Do not expose production IPs, switch names, VLANs, or device identifiers in public evidence. Add keyboard, mouse, camera, headset, smart-card reader, storage, printer, and other USB devices one at a time. Storage and cameras can reveal marginal bandwidth or power sooner than a keyboard. Test audio input and output selection after docking and wake. Keep firmware, BIOS, graphics, USB controller, Ethernet, and OS changes separate during diagnosis. A random stack of updates destroys the ability to identify the real correction. Build acceptance around observed business work: video meeting, local and remote displays, large file transfer, VPN, voice, camera, sleep, and redocking, not just a static desktop image.
- Map every monitor to host or dock path, port, cable, resolution, refresh, scaling, orientation, and business requirement.
- Validate the exact Acer dock and notebook combination against its documented display limit instead of generalizing from another product.
- Test boot, sign-in, hot-plug, lock, disconnect, reconnect, sleep, wake, lid behavior, Ethernet, VPN, audio, camera, storage, and representative applications.
- Add peripherals one at a time and watch shared bandwidth, power, thermals, charging, network stability, and device enumeration.
- Change firmware, BIOS, graphics, USB, Ethernet, cable, and display variables separately so the repair remains explainable.
Operate Acer Battery Charge Limits, Calibration, and Power Resets Correctly
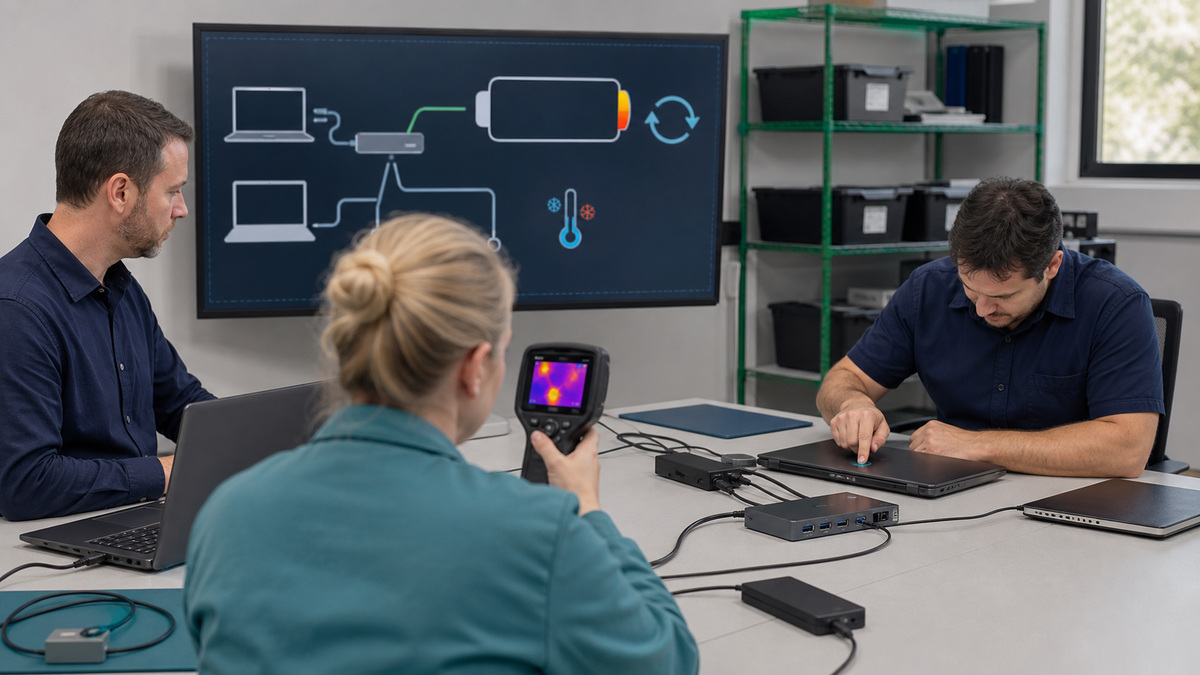
Begin battery work with model, charger, usage pattern, cycle and health evidence, symptom, temperature, recent firmware or Windows change, and whether the problem occurs on the dock, direct adapter, battery, or every power source. Distinguish runtime degradation, inaccurate percentage, no-charge, slow-charge, intermittent disconnect, sudden shutdown, swollen battery, hot connector, and no-power conditions, they have different safety and service paths. Stop using and isolate a swollen, damaged, leaking, or dangerously hot battery or adapter according to organizational safety procedures. Acer’s current charge-limit article says many notebooks expose an 80 percent maximum through preinstalled Acer software, but the application can be Acer Care Center, AcerSense, ControlCenter, or a model-specific variant. Treat availability as a model feature. A desk-bound cohort may benefit from an approved charge limit, while travel, field, or emergency users may need full runtime. Record the decision and periodically prove the control remains applied after imaging or utility updates. Calibration addresses gauge accuracy, not lost chemical capacity. Acer says supported models expose calibration in Care Center and notes that its calibration workflow is not supported using a USB Type-C power adapter. Use the correct Acer AC adapter and schedule the process where a full charge-discharge cycle will not interrupt work. An internal battery or embedded-controller reset addresses stuck power-management state. Acer documents a power-button method and a battery-reset pinhole on models that include one, with the product guide used to confirm availability. Disconnect peripherals and power first, preserve open work, and never probe an unlabeled hole. The reset does not erase the operating system, but it also does not repair worn cells, a damaged connector, failed dock, weak adapter, or board fault. Retest direct adapter, dock, both approved USB-C ports if applicable, battery reporting, sleep, and representative load after the action.
- Classify the symptom and capture model, charger, dock, battery health, cycles, temperature, usage, recent change, and direct-versus-dock behavior.
- Use the Acer 80 percent charge limit only on supported models and align it with real mobility and runtime needs.
- Use calibration for inaccurate reporting, with the documented Acer power path, do not present it as a cure for degraded capacity.
- Use an embedded-controller or internal-battery reset only through the model’s documented method and never insert a tool into an unverified opening.
- Isolate swollen, damaged, leaking, sparking, or dangerously hot equipment and escalate through approved safety, warranty, and repair channels.
Troubleshoot by Substitution and Maintain a Known-Good Acer Desk Standard
Run a bounded isolation sequence. Capture the failure and before-state, then reduce the setup to Acer notebook, direct approved power, one known-good monitor, and the tested dock host cable. Verify the notebook port and dock power. Test a known-good monitor cable and input, then another documented port. Compare the affected notebook with the known-good Acer desk and the affected desk with a known-good compatible notebook. Add displays and peripherals back one at a time. This matrix shows whether the symptom follows the notebook, port, OS, cable, dock, adapter, monitor, network, peripheral, or workload. Perform a complete dock power cycle only after preserving evidence: disconnect host and peripherals, remove dock power, wait the documented interval, then reconnect power, host, display, and devices in the tested order. Use Acer firmware from the exact dock or notebook support page. If a firmware tool requires an attached display path or a particular state, document it in the controlled runbook. Do not flash a near-match dock. Track desk incidents by model and bill of materials. Repeated wake failures on one cable batch, slow charging with one adapter, or display loss on one firmware combination should update the approved standard rather than create endless individual tickets. Maintain known-good spares for dock, adapter, host cable, display cables, and one representative monitor, all tested and labeled. Retire damaged or unapproved accessories from circulation so they do not return through a drawer. Revalidate after BIOS, dock firmware, graphics driver, Windows feature release, monitor model, charger, or cable changes. A stable Acer desk is an operated configuration with evidence, spares, and safe battery decisions, not a pile of individually compatible parts.
- Reduce to notebook, correct port, direct approved power, known-good host cable, powered dock, and one monitor, then add components one by one.
- Use cross-substitution to determine whether the failure follows notebook, port, OS, cable, dock, adapter, display, network, peripheral, or workload.
- Power-cycle and update only through a documented model-specific sequence that preserves evidence and uses exact Acer packages.
- Maintain tested spares and remove failed, damaged, counterfeit, or unapproved chargers, cables, adapters, and docks from circulation.
- Review incident patterns and requalify the desk standard after BIOS, firmware, drivers, Windows, monitors, chargers, cables, or material battery changes.
Official product documentation and ALLMSP resources
- Acer: TravelMate P4 14 user manual
- Acer: TravelMate P4 Windows 10 user manual
- Acer: Aspire AL17-31P lifecycle extension guide
- Acer: Global download portal
- Microsoft: Modern Standby
- Microsoft: Update drivers through Device Manager
- ALLMSP Acer Hardware Support
- ALLMSP Hardware Support
- ALLMSP Computer Repair
- ALLMSP Managed IT Services
- ALLMSP Cybersecurity Services
- Contact ALLMSP
Frequently Asked Questions
Does every USB-C port on an Acer notebook support a dock and monitors?
No. USB-C describes the connector, not every function. Verify the exact notebook port supports the needed data, DisplayPort video, Thunderbolt or USB4 if required, and Power Delivery behavior, then use the documented Acer port.
Why should an Acer dock use its supplied power adapter and host cable first?
They establish the vendor-tested power and link path. A phone charger, lower-wattage adapter, charge-only cable, long cable, or intermediary hub can remove video, reduce charging, limit data, or create intermittent failures.
How many monitors can an Acer USB-C dock support?
It depends on the exact dock, notebook, graphics path, ports, cables, resolution, and refresh. Acer documents limits for named docks, do not apply one product’s two- or three-display statement to every Acer combination.
What should be tested after docking an Acer laptop?
Test boot, sign-in, hot-plug, disconnect, reconnect, lock, sleep, wake, lid behavior, each monitor, Ethernet, VPN, audio, camera, storage, USB peripherals, charging, thermals, security controls, and the actual business workflow.
Why can a dock work with one Acer USB-C port but not another?
Ports on the same notebook can expose different video, data, or charging capabilities. Confirm the model’s user guide and port markings and test the documented full-function port rather than assuming all connectors are equivalent.
What does Acer's Battery Charge Limit do?
On supported models, Acer software can limit maximum charge to about 80 percent to reduce prolonged high-charge stress. Availability and application name vary by model, and the policy should match the user’s mobility and runtime needs.
Is Acer battery calibration the same as improving battery health?
No. Calibration helps the charge and remaining-time indicators become more accurate. It does not restore lost chemical capacity. Acer also notes a power-path limitation for calibration through USB-C in its Care Center guidance.
When should support perform an Acer internal battery reset?
Use the model’s documented embedded-controller or battery-reset procedure for stuck charging, incorrect percentage, unexpected shutdown, or no-power symptoms after preserving work and disconnecting peripherals. It does not fix damage or worn cells.
How should an intermittent Acer dock problem be isolated?
Reduce to the compatible notebook, correct port, approved power, known-good host cable, powered dock, and one monitor. Cross-test with known-good parts, then add displays, Ethernet, audio, storage, and peripherals one at a time.
How can ALLMSP support Acer docks and laptop batteries?
ALLMSP can build the exact compatibility matrix, qualify docks and cables, manage firmware and drivers, validate monitors and network paths, standardize charge-limit decisions, run battery and desk diagnostics, maintain spares, and track recurring failures.